Assembly Instruction
FAQ
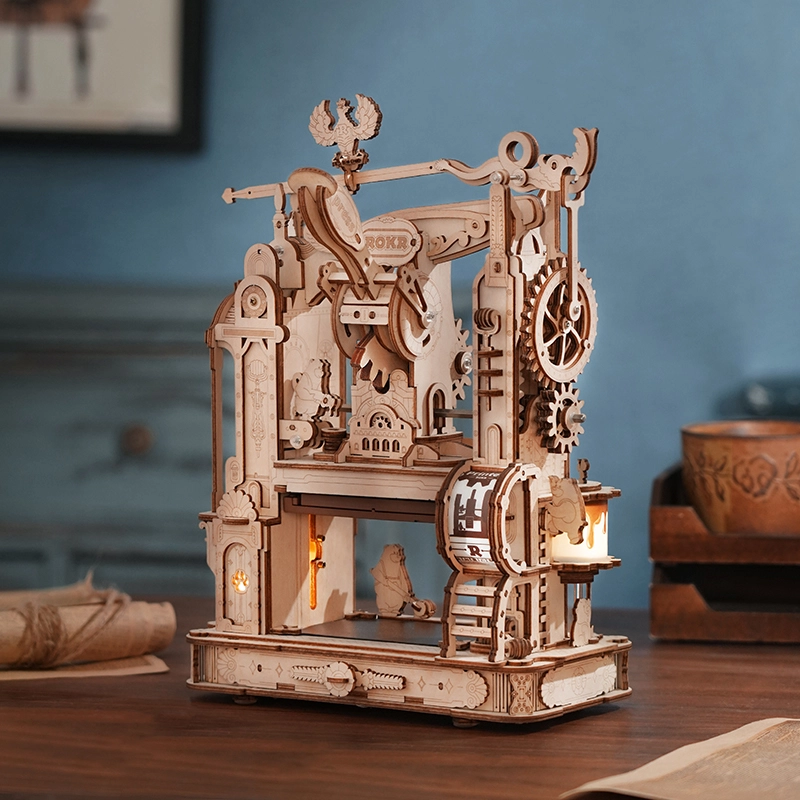
LK602 - ROKR - Classic Printing
(Click the pictures to view in full size)
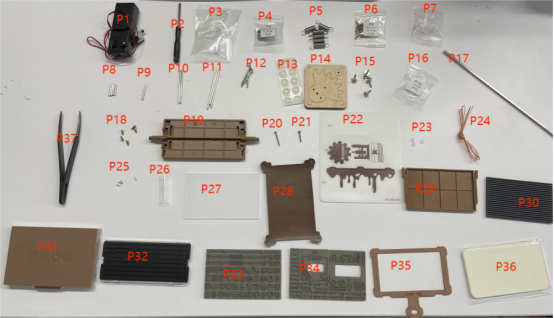
Parts list
1.Ink box.
①The product comes with an ink box, which can be used directly after assembly.
②If the ink is dried or not enough, add a small amount of ink multiple times, which needs to be self-prepared.
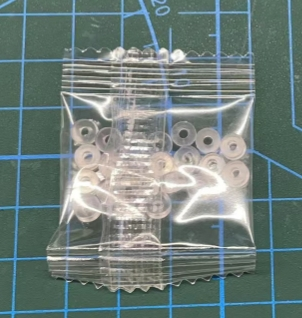
2.Shaft sleeves in Bag P7 are thick while in Bag P16 are thin.
Functional Problems
1.The printing is not clear.
①First, ensure if the rubber letters are inserted into the right position ( They probably are not inserted in place.), and it is suggested that they should keep a distance.
②Second, check for the distance between rubber letters. If there is no problem, the height between these boards are different. Contact after-sales service to replace rubber letters.
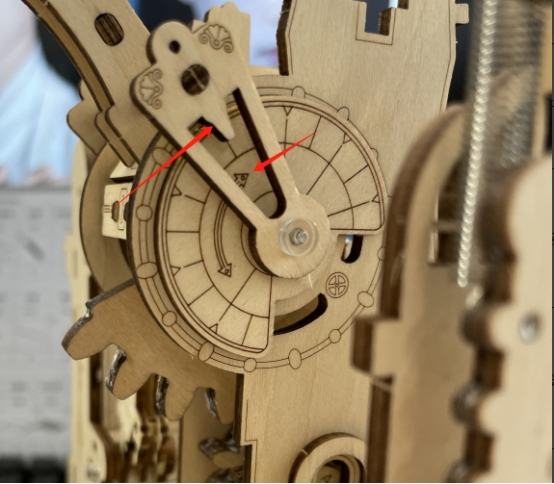
③Check if it takes a lot of effort to make the light on. It is possible that the handle is assembled high, adjust the 2 arrows to align.
④Check the ink box. If the ink is dried, spray a little water on the surface.
⑤P33, P34’s rubber letters are too hard due to the batch problem, contact after-sales service to replace these two parts.
2.The light isn’t on after holding the blade switch (it was on during the test). The initial position of Part C should be aligned with the arrow above.